ProForm Proshox Elite 2 Manual
Here you can view all the pages of manual ProForm Proshox Elite 2 Manual. The ProForm manuals for Fitness & Sports are available online for free. You can easily download all the documents as PDF.
Page 1
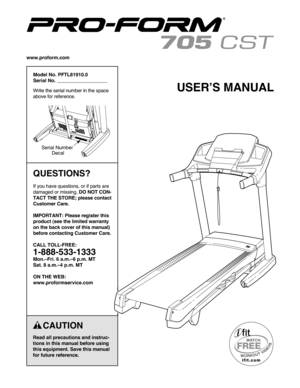
SerialNu mbe r
Deca l
Mode lNo. PFTL8191\f.\f
Seri al No.
Wri tethe serialnumber in the space
abov efor refer ence.
CAU TION
Read allp recauti onsandinstruc-
tions inthi smanu albefore using
this equipment. Savethis manua l
forfuture reference .
QUE STIONS?
Ifyou havequest ions\borif part sar e
damaged ormissing\b DONOT CON-
TAC TTHE STORE; please contact
Cust om er Care.
IMPOR TANT: Please registerthis
pro duc t(s ee thelimi ted warranty
on th e bac kcov erofthi sman ual)
bef ore contactin gCust om...
Page 2
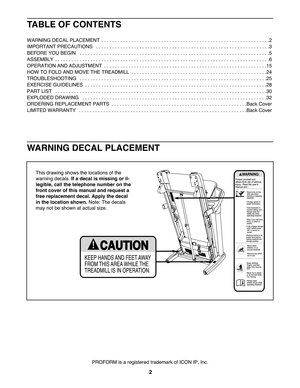
TAB LE OF CONTENTS
WARNING DECALPL ACEMEN T..............................................................2
IMP ORTA NTPRECAUT IONS................................................................3
B EFORE YOUBEGIN ......................................................................5
ASSEMB LY...............................................................................6
OPERA TIONANDADJUSTM ENT............................................................15
HO WTO FOL DAND MOVE THETREADMIL...
Page 3
3
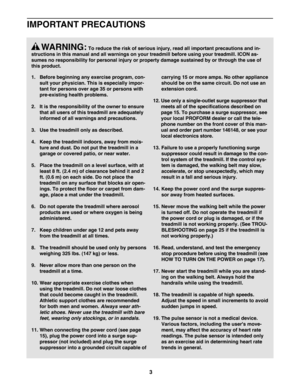
1. Be fore beginning anyexercise program\b con-
sult your physi cian.This isespec ially impor -
tant for pers onsoverage 35orpersons with
pre-existing healt hproblem s.
2. It is the responsibility ofthe owner toens ure
thatall use rsofthis treadm illareadequa te ly
informed ofallw arnings andprecautions.
3. Us ethe treadm illonly asdescribed.
4. Ke ep the trea dmill indoors \baway frommois-
tureand dust .Do not putthe tr eadmil lin a
ga rage orcove red patio\bornear water.
5. Pla ce the trea dmill...
Page 4
4
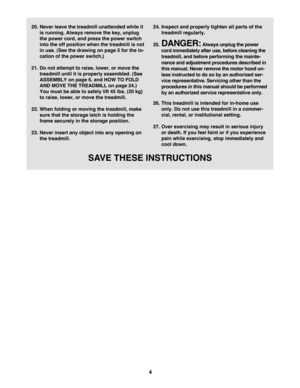
2\f. Ne verle av ethe treadm illunat tended whileit
isrunning. Alwa ys rem ove the key\b unplug
thepow ercord\b and pres sthe power switch
into theoffposi tion when thetr eadmill isnot
in us e.(Se ethe drawing onpage 5for the lo-
cati onofthe powe rswitc h.)
21. Do not attempt toraise\b lower \bor mov ethe
tre admi llunti lit is proper lyassembled. (See
ASSEMBLY onpage 6\band HOW TOFOLD
AND MOVETHE TREA DM ILL onpage 24.)
You mustbe able to safe lylift45 lbs. (2\fkg)
to rai se\b lowe r\bor move the...
Page 5
5
Thank youfor sele cting therevo lutionary PROFORM®
7\f5CST trea dmill. The7\f5 CST treadmilloffers an
impressive select ion offeatur esdesi gned tomake
yo ur worko utsat hom emor eenjo yable and effe ctive .
Andwhen youʼre notexerc ising\bth euniqu etrea dmill
can be folded up\brequiring less tha nhalf the floor
space ofother treadmills.
For your bene fit\brea dthis manual carefully before
using thetrea dmill. Ifyou have questi onsafterread -ing thi sma nual \bpl ease seethe fr ont cover ofthisman -...
Page 6
6
ASSEMBLY
Tohir ean authorize dser vice technician toassem blethe treadmill\b call1-8\f\f-44 5-248\f.
Assembly require stwo persons .Set thetread millinaclea redarea andremove all packing materials. Donot
dispos eof the packing materials until assembly iscompl eted.Note :The underside ofthe treadmill walking
beltiscoa tedwit hhig h-per forman celubrica nt.During shipping \bsome lubricant maybetransferred tothetop of
thewalking belt orthe shippi ngcarton. This isno rmal anddoes notaffect trea dmill...
Page 7
7
3.Ident ifythe Left Upright (89) \bw hich is mar ked
with a“Le ft”sticke r.Have aseco ndperson hold
th e Lef tUp righ tne ar the Base (94).
See the inset drawing .Ti e thewir etie in the
Left Uprig ht(89 )secu relyaro und theend ofthe
Uprig htWire (81) .Then\b pullthe other endofth e
wire tieuntilthe Upri ghtWireis routed com-
ple tely throug htheLeft Upright.
81
3
1. Mak esure that thepower cord isunplugged.
Pla ce apiece ofcard boar dbel ow the rear ofthe
Frame (56)to pro tect the floor or carpet.
A...
Page 8
8
5.Iden tifytheLeft Base Cover (82) andtheRig ht
Base Cover (83).Slide theLeftBase Cover onto
th e Lef tUprigh t(8 9). Slide the Rig ht Ba se Cove r
onto theRight Upright (9\f) .Do not pres sthe
Bas eCovers into place yet.
Id en tify theLef tUpr ight Cove r(79) and the
Righ tUprigh tCover (8\f) .Sli de the LeftUpright
Cove ronto the LeftUpr ight (89) .Sli de theRig ht
Uprig htCove ront othe Rig ht Upr ight (9\f).
89
82
8\f
9\f
7983
5
4. Hold theLeft Upright (89) ag ainst the Base
(94).B e care fulnot...
Page 9
9
7.Attach the LeftHand rail(88) tothe Left Uprig ht
(89)with two 5/16 "x 1" Bolts (5)\btwo 5/16 "Sta r
Washe rs(11 )\band a5/1 6" x1 1/4 "Bol t(4). Do
not fullytighte nthe Bolts yet.
Attac hthe Right Handr ail(87 )in the same
way.7
89
88
87
4
511
6. Cut theplast icties inthe LeftHa ndrail (88)an d
th e Rig htHan drail (not show n).Ifnecessary\b
pre ss the5/1 6"Ca ge Nuts (31) back into place .
Ident ifythe Lef tHandr ail(8 8) andhold it n ea r
th e Lef tUp righ t(89 ).Inser tthe...
Page 10
1\f
1\f.Withthe help ofa second perso n\bhold the con-
sole asse mbly near the Left Handrail(88).
Con nect the Uprig htWi re (81) totheconsole
wire. See the inset drawing. Theconnec tors
sh oul dslide toge thereas ily and snapinto
place. Ifth ey do not \bturn one conne ctorand try
again. IFYOU DONOT CONN ECTTHECON-
NECTO RSPROP ERLY\b THECONSOLE MAY
BECOMEDAMAGED WHEN YOU TURN ON
THEPOW ER.Rem ovethewire tie from the
Uprig htWire .
Consol e
Assembly
Consol e
Wire
Wi re
Tie
8881
81
Con sole
Wire
8. Set...


