Brother 3034 D Manual
Here you can view all the pages of manual Brother 3034 D Manual. The Brother manuals for Sewing Machine are available online for free. You can easily download all the documents as PDF.
Page 1
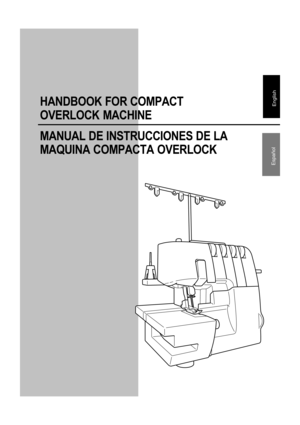
HANDBOOK FOR COMPACT
OVERLOCK MACHINE
MANUAL DE INSTRUCCIONES DE LA
MAQUINA COMPACTA OVERLOCKEnglish
Español
Page 2
IMPORTANT SAFETY INSTRUCTIONS
When using the sewing machine, basic safety precautions should always be\
 followed, including the following.
Read all instructions before using.
DANGER
To reduce the risk of electric shock.
1. The sewing machine should never be left unattended when plugged in. Alwa\
ys unplug this sewing machine from the electrical outlet
immediately after using and before cleaning.
2. Always unplug before replacing the light bulb. Replace the light bulb wi\
th same type rated 15 watts....
Page 3
1
English
 CAUTION
When leaving this sewing machine unattended, the main power and light switch of the machine must be
switched off or the plug must be removed from the socket-outlet.
When servicing the sewing machine, or when removing covers or changing the light bulb, the machine or
the electrical set must be disconnected from the supply by removing the plug from the socket-outlet.
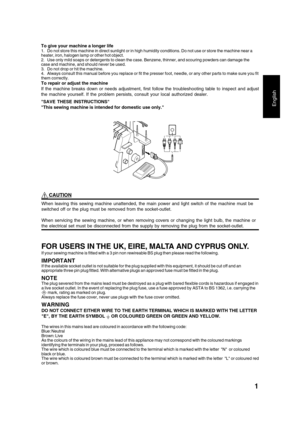
FOR USERS IN THE UK, EIRE, MALTA AND CYPRUS ONLY.
If your sewing machine is fitted with a 3 pin non rewireable BS plug...
Page 4
2
CONGRATULATIONS ON CHOOSING THIS COMPACT
OVERLOCK MACHINE
Your machine is a high quality, easy-to-use product. To fully enjoy all the features, we suggest that you
study this booklet.
If you need more information regarding the use of your machine, your nearest authorized dealer is always
happy to be of service.
Enjoy yourself!
 CAUTION
When threading, replacing needle or light bulb, the main power and light switch of the machine must be
switched off or the plug must be removed from the socket-outlet....
Page 5
3
English
Contents
Chapter 1: Names of parts and their functions...................................................................... 4Accessories......................................................................................................................... 5
Powering the machine ........................................................................................................ 6
Turning direction of hand wheel...
Page 6
4
1
2
3
4
5
6
7
8
9
0
FA
B
C
D
E
H
IJK
M
N
O
L
P
Q
RG
S
CHAPTER 1
NAMES OF PARTS AND THEIR FUNCTIONS
I Hand wheel
J Differential feed ratio adjustment dial
K Stitch width dial
Inside of the front coverL Thread guide
M Lower looper threading lever
N Thread take up for loopers
O Upper looper
P Upper knife
Q Lower looper
R Stitch finger
S Knife lever
t Front cover compartment
You can hold the included accessories and the removed
stitch finger in this front cover compartment.
: Needle set, : Stitch finger...
Page 7
5
English
Accessories
Included accessory
1 Soft cover: X77871000
2 Accessory bag: 122991052
3 Tweezers: XB1618001
4 Thread net (4): X75904000
5 Thread spool cap (4): X77260000
6 Cleaning brush: X75906001
7 Hexagonal driver: XB0393001
8 Needle set (SCHMETZ 130/705H): X75917001
#80: 2 pcs., #90: 2 pcs.
9 Foot controller:
XC7359022 (120V Area)
XC7438322 (230V Area)
XC7456322 (U.K.)
XD0112022 (Argentina)
XD0852022 (Korea)
XD0105022 (China)
XE0629002 (Australia, New Zealand)
0 Instruction DVD: XB1619001...
Page 8
6
Powering the machine
Turning on the machine
1. Insert the three-pin plug into the socket on the
bottom right side of the machine. Insert the power
supply plug into a power outlet.
2. Turn the main power and light switch  to I mark
(to O mark to turn off).

Operation
When the foot controller is pressed lightly, the machine
runs at a low speed. As the foot controller is pressed
further, the machine will increase speed. When the foot
controller is released, the machine stops.
NOTE (For U.S.A. only):
Foot...
Page 9
7
English
Trim trap
The optional trim trap  holds the trimmed fabric and
thread produced when sewing.

To install:
Insert the trim trap  until it contacts the front cover.
NOTE:
Be sure to position the positioning guide  to the one
on the machine.
To remove:
Slowly pull out the trim trap.
NOTE:
The optional trim trap can also be used as the foot
controller holder.
 CAUTION
Always remove the foot contrller from the trim trapwhen carrying the machine.
Free-arm sewing (removing bed extension)
Free-arm...
Page 10
8
Retracting knife
To sew without cutting the fabric edge, you need to
retract the knife as follows.
 CAUTION
Do not touch the knife.
Move the knife lever only while the needle is at its
lowest point.
Be sure to unplug the power supply cord from the
wall outlet before retracting the knife.
1. Pull up the knife lever , then pull it to the right.

2. Bring down the knife.
3. Retract the knife completely, then take your hand off
from the lever.
Stitch length
The normal stitch length setting is 3 mm. To...


