BenQ Mp510 Dlp Users Manual
Here you can view all the pages of manual BenQ Mp510 Dlp Users Manual. The BenQ manuals for Projector are available online for free. You can easily download all the documents as PDF.
Page 31
Operation 31
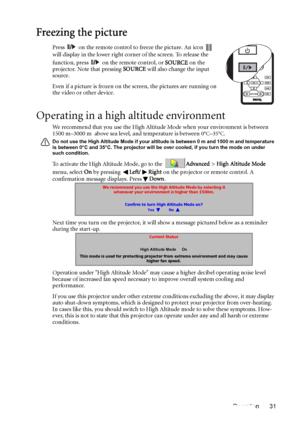
Freezing the picture
Press   on the remote control to freeze the picture. An icon
will display in the lower right corner of the screen. To release the
function, press   on the remote control, or SOURCE on the
projector. Note that pressing SOURCE will also change the input
source.
Even if a picture is frozen on the screen, the pictures are running on
the video or other device.
Operating in a high altitude environment
We recommend that you use the High Altitude Mode when your...
Page 32
Operation 32
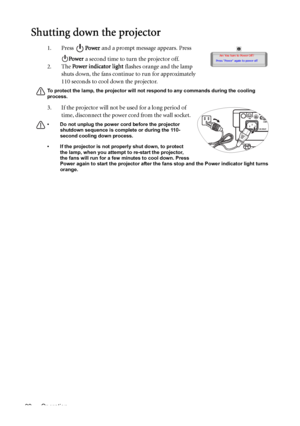
Shutting down the projector
1. Press Power and a prompt message appears. Press
Power a second time to turn the projector off.
2. The Power indicator light flashes orange and the lamp
shuts down, the fans continue to run for approximately
110 seconds to cool down the projector.
To protect the lamp, the projector will not respond to any commands during the cooling
process.
3. If the projector will not be used for a long period of
time, disconnect the power cord from the wall socket.
• Do...
Page 33
Operation 33
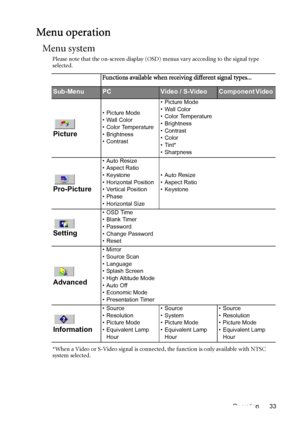
Menu operation
Menu system
Please note that the on-screen display (OSD) menus vary according to the signal type
selected.
*When a Video or S-Video signal is connected, the function is only available with NTSC
system selected.
Functions available when receiving different signal types...
Sub-MenuPCVideo / S-VideoComponent Video
Picture
• Picture Mode
•Wall Color
• Color Temperature
• Brightness
• Contrast• Picture Mode
• Wall Color
• Color Temperature
• Brightness
• Contrast
• Color
•Tint*...
Page 34
Operation 34
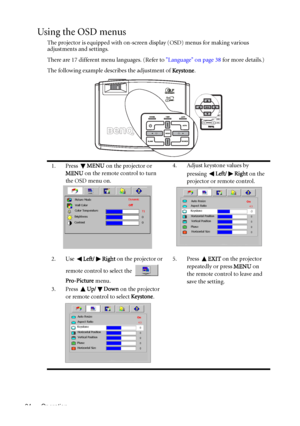
Using the OSD menus
The projector is equipped with on-screen display (OSD) menus for making various
adjustments and settings.
There are 17 different menu languages. (Refer to Language on page 38 for more details.)
The following example describes the adjustment of Ke ystone.
1. Press MENU on the projector or
MENU on the remote control to turn
the OSD menu on.4. Adjust keystone values by
pressing Left/ Right on the
projector or remote control.
2. Use Left/ Right on the projector or...
Page 35
Operation 35
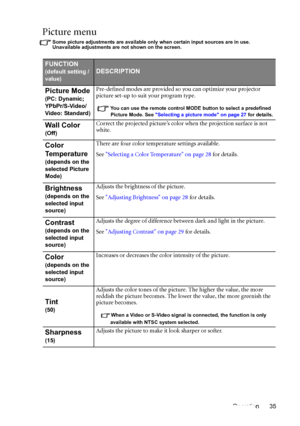
Picture menu
Some picture adjustments are available only when certain input sources are in use.
Unavailable adjustments are not shown on the screen.
FUNCTION
(default setting /
value)DESCRIPTION
Picture Mode
(PC: Dynamic;
YPbPr/S-Video/
Video: Standard)
Pre-defined modes are provided so you can optimize your projector
picture set-up to suit your program type.
You can use the remote control MODE button to select a predefined
Picture Mode. See Selecting a picture mode on page 27 for...
Page 36
Operation 36
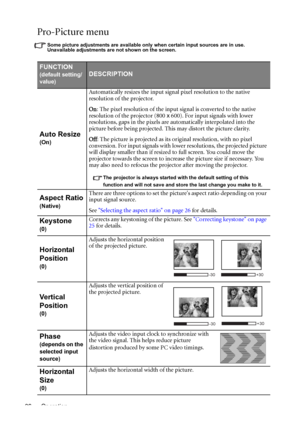
Pro-Picture menu
Some picture adjustments are available only when certain input sources are in use.
Unavailable adjustments are not shown on the screen.
FUNCTION
(default setting/
value)DESCRIPTION
Auto Resize
(On)
Automatically resizes the input signal pixel resolution to the native
resolution of the projector.
On: The pixel resolution of the input signal is converted to the native
resolution of the projector (800 x 600). For input signals with lower
resolutions, gaps in the pixels are...
Page 37
Operation 37
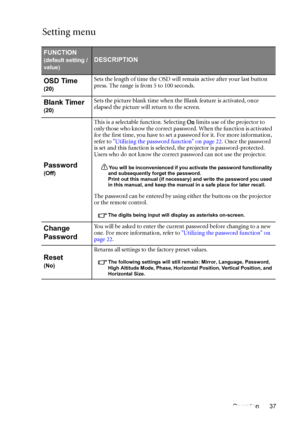
Setting menu
FUNCTION
(default setting /
value)DESCRIPTION
OSD Time
(20)
Sets the length of time the OSD will remain active after your last button
press. The range is from 5 to 100 seconds.
Blank Timer
(20)
Sets the picture blank time when the Blank feature is activated, once
elapsed the picture will return to the screen.
Password
(Off)
This is a selectable function. Selecting On limits use of the projector to
only those who know the correct password. When the function is activated
for...
Page 38
Operation 38
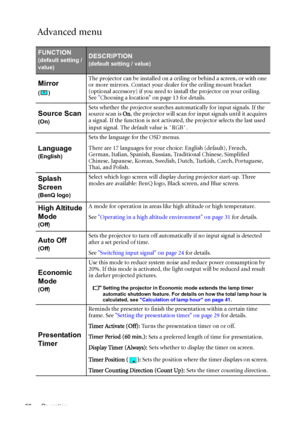
Advanced menu
FUNCTION
(default setting /
value)DESCRIPTION
(default setting / value)
Mirror
()
The projector can be installed on a ceiling or behind a screen, or with one
or more mirrors. Contact your dealer for the ceiling mount bracket
(optional accessory) if you need to install the projector on your ceiling.
See Choosing a location on page 13 for details.
Source Scan
(On)
Sets whether the projector searches automatically for input signals. If the
source scan is On, the projector...
Page 39
Operation 39
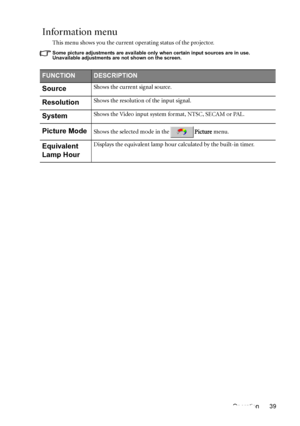
Information menu
This menu shows you the current operating status of the projector.
Some picture adjustments are available only when certain input sources are in use.
Unavailable adjustments are not shown on the screen.
FUNCTIONDESCRIPTION
SourceShows the current signal source.
ResolutionShows the resolution of the input signal.
SystemShows the Video input system format, NTSC, SECAM or PAL.
Picture ModeShows the selected mode in thePicture menu.
Equivalent
Lamp HourDisplays the equivalent...
Page 40
Maintenance 40
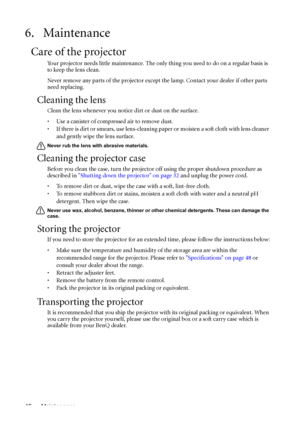
6. Maintenance
Care of the projector
Your projector needs little maintenance. The only thing you need to do on a regular basis is
to keep the lens clean.
Never remove any parts of the projector except the lamp. Contact your dealer if other parts
need replacing.
Cleaning the lens
Clean the lens whenever you notice dirt or dust on the surface.
• Use a canister of compressed air to remove dust.
• If there is dirt or smears, use lens-cleaning paper or moisten a soft cloth with lens cleaner...
