BenQ Mp510 Dlp Users Manual
Here you can view all the pages of manual BenQ Mp510 Dlp Users Manual. The BenQ manuals for Projector are available online for free. You can easily download all the documents as PDF.
Page 21
Operation 21
5. Operation
Start up
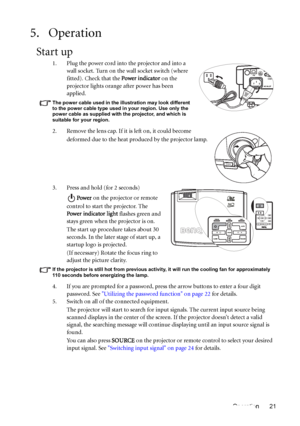
1. Plug the power cord into the projector and into a
wall socket. Turn on the wall socket switch (where
fitted). Check that the Power indicator on the
projector lights orange after power has been
applied.
The power cable used in the illustration may look different
to the power cable type used in your region. Use only the
power cable as supplied with the projector, and which is
suitable for your region.
2. Remove the lens cap. If it is left on, it could become...
Page 22
Operation 22
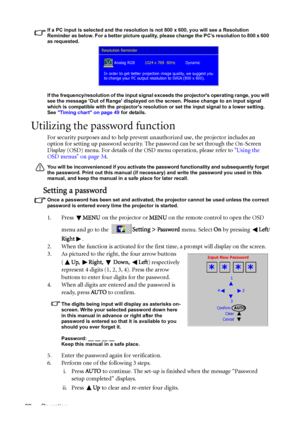
If a PC input is selected and the resolution is not 800 x 600, you will see a Resolution
Reminder as below. For a better picture quality, please change the PC’s resolution to 800 x 600
as requested.
If the frequency/resolution of the input signal exceeds the projectors operating range, you will
see the message Out of Range displayed on the screen. Please change to an input signal
which is compatible with the projectors resolution or set the input signal to a lower setting.
See Timing...
Page 23
Operation 23 iii. Press Down to cancel the password set-up and return to the OSD menu.
To disable password protection, go to the
Setting > Password menu after opening
the OSD menu system. Select Off by pressing Left or Right.
Though the password function is disabled, you need to keep the old password in hand should
you ever need to turn the password function back on and change the old password.
If you forget the password
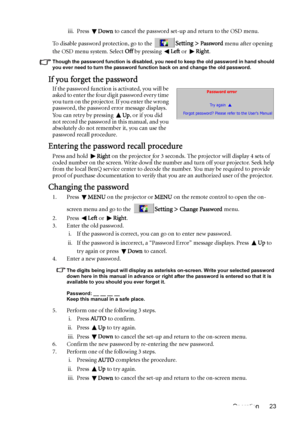
If the password function is activated, you will be
asked to enter the four digit...
Page 24
Operation 24
Switching input signal
The projector can be connected to multiple devices at the same time. However, it can only
display one at a time.
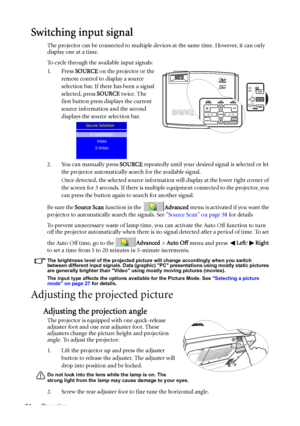
To cycle through the available input signals:
1. Press SOURCE on the projector or the
remote control to display a source
selection bar. If there has been a signal
selected, press SOURCE twice. The
first button press displays the current
source information and the second
displays the source selection bar.
2. You can manually press SOURCE repeatedly...
Page 25
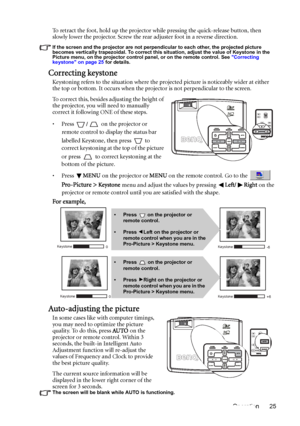
Operation 25 To retract the foot, hold up the projector while pressing the quick-release button, then
slowly lower the projector. Screw the rear adjuster foot in a reverse direction.
If the screen and the projector are not perpendicular to each other, the projected picture
becomes vertically trapezoidal. To correct this situation, adjust the value of Keystone in the
Picture menu, on the projector control panel, or on the remote control. See Correcting
keystone on page 25 for details.
Correcting...
Page 26
Operation 26
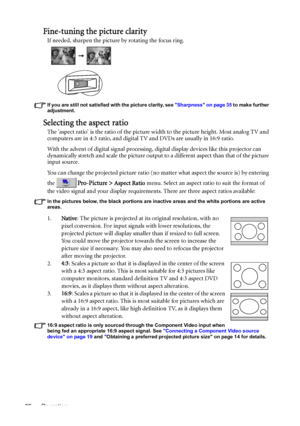
Fine-tuning the picture clarity
If needed, sharpen the picture by rotating the focus ring.
If you are still not satisfied with the picture clarity, see Sharpness on page 35 to make further
adjustment.
Selecting the aspect ratio
The aspect ratio is the ratio of the picture width to the picture height. Most analog TV and
computers are in 4:3 ratio, and digital TV and DVDs are usually in 16:9 ratio.
With the advent of digital signal processing, digital display devices like this projector can...
Page 27
Operation 27
Optimizing the picture
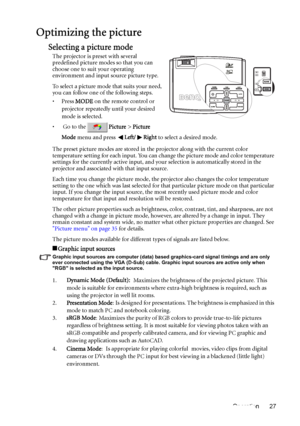
Selecting a picture mode
The projector is preset with several
predefined picture modes so that you can
choose one to suit your operating
environment and input source picture type.
To select a picture mode that suits your need,
you can follow one of the following steps.
•Press MODE on the remote control or
projector repeatedly until your desired
mode is selected.
• Go to thePicture > Picture
Mode menu and press Left/ Right to select a desired mode.
The preset...
Page 28
Operation 28
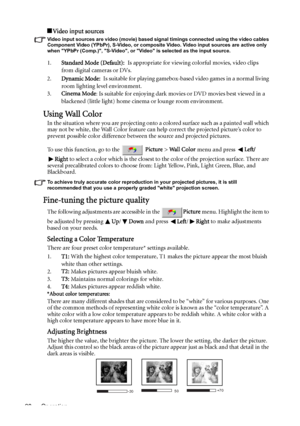
Video input sources
Video input sources are video (movie) based signal timings connected using the video cables
Component Video (YPbPr), S-Video, or composite Video. Video input sources are active only
when YPbPr (Comp.), S-Video, or Video is selected as the input source.
1.Standard Mode (Default): Is appropriate for viewing colorful movies, video clips
from digital cameras or DVs.
2.Dynamic Mode: Is suitable for playing gamebox-based video games in a normal living
room lighting level...
Page 29
Operation 29
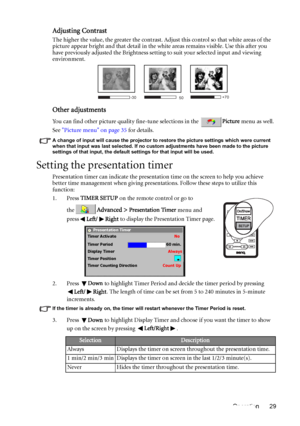
Adjusting Contrast
The higher the value, the greater the contrast. Adjust this control so that white areas of the
picture appear bright and that detail in the white areas remains visible. Use this after you
have previously adjusted the Brightness setting to suit your selected input and viewing
environment.
Other adjustments
You can find other picture quality fine-tune selections in the Picture menu as well.
See Picture menu on page 35 for details.
A change of input will cause the...
Page 30
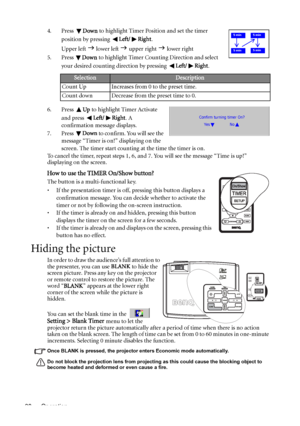
Operation 304. Press Down to highlight Timer Position and set the timer
position by pressing Left/ Right.
Upper left
J lower left J upper right J lower right
5. Press Down to highlight Timer Counting Direction and select
your desired counting direction by pressing Left/ Right.
6. Press Up to highlight Timer Activate
and press Left/ Right. A
confirmation message displays.
7. Press Down to confirm. You will see the
message “Timer is on!” displaying on the
screen. The timer start counting at the...
