BenQ Mp525 St Dlp Users Manual
Here you can view all the pages of manual BenQ Mp525 St Dlp Users Manual. The BenQ manuals for Projector are available online for free. You can easily download all the documents as PDF.
Page 21
Connection 21
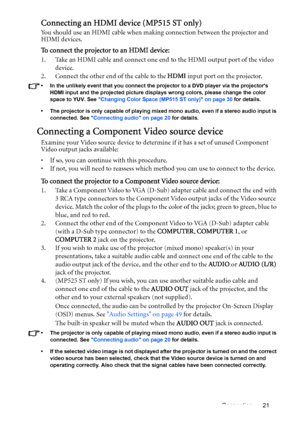
Connecting an HDMI device (MP515 ST only)
You should use an HDMI cable when making connection between the projector and
HDMI devices.
To connect the projector to an HDMI device:
1. Take an HDMI cable and connect one end to the HDMI output port of the video
device.
2. Connect the other end of the cable to the HDMI input port on the projector.
•  In the unlikely event that you connect the projector to a DVD player via the projectors
HDMI input and the projected picture displays wrong...
Page 22
Connection 22
Connecting an S-Video/composite Video source device
Examine your Video source device to determine if it has an unused S-Video/Video
output jack available:
•  If it has both jacks, use the S-Video output jack for connection as the S-Video
terminal provides better picture quality than the Video terminal.
•  If it has either of the output jack, you can also continue with this procedure.
•  If not, you will need to reassess which method you can use to connect to the device.
To connect the...
Page 23
Operation 23
Operation
Starting up the projector
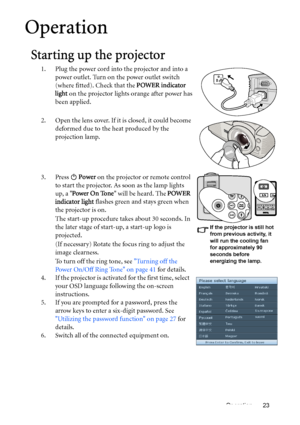
1. Plug the power cord into the projector and into a
power outlet. Turn on the power outlet switch
(where fitted). Check that the POWER indicator
light on the projector lights orange after power has
been applied.
2. Open the lens cover. If it is closed, it could become
deformed due to the heat produced by the
projection lamp.
3. Press  Power on the projector or remote control
to start the projector. As soon as the lamp lights
up, a Power On Tone...
Page 24
Operation 24
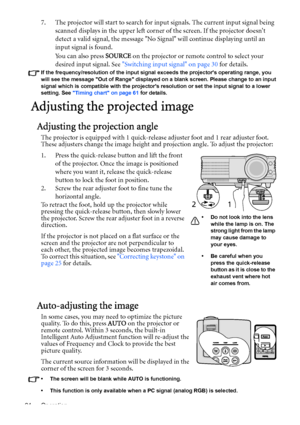
7. The projector will start to search for input signals. The current input signal being
scanned displays in the upper left corner of the screen. If the projector doesnt
detect a valid signal, the message No Signal will continue displaying until an
input signal is found.
You can also press SOURCE on the projector or remote control to select your
desired input signal. See Switching input signal on page 30 for details.
If the frequency/resolution of the input signal exceeds the projectors...
Page 25
Operation 25
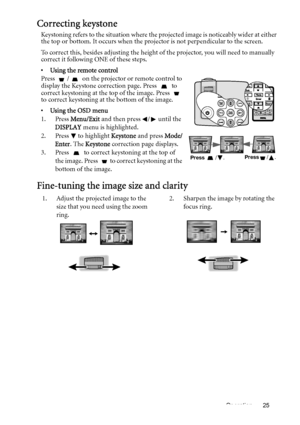
Correcting keystone
Keystoning refers to the situation where the projected image is noticeably wider at either
the top or bottom. It occurs when the projector is not perpendicular to the screen.
To correct this, besides adjusting the height of the projector, you will need to manually
correct it following ONE of these steps.
•  Using the remote control
Press  /  on the projector or remote control to
display the Keystone correction page. Press   to
correct keystoning at the top of the...
Page 26
Operation 26
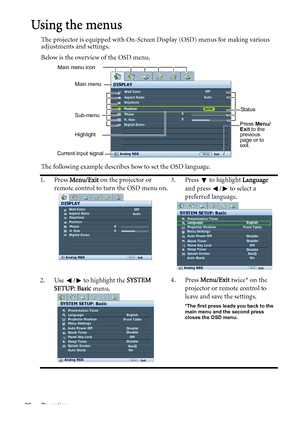
Using the menus
The projector is equipped with On-Screen Display (OSD) menus for making various
adjustments and settings.
Below is the overview of the OSD menu.
The following example describes how to set the OSD language.
1. Press Menu/Exit on the projector or
remote control to turn the OSD menu on.3. Press  to highlight Language
and press  /  to select a
preferred language.
2. Use  /  to highlight the SYSTEM
SETUP: Basic menu.4. Press Menu/Exit twice* on the
projector or remote...
Page 27
Operation 27
Securing the projector
Using a security cable lock
The projector has to be installed in a safe place to prevent theft. Otherwise, purchase a
lock, such as the Kensington lock, to secure the projector. You can locate a Kensington
lock slot on the rear side of the projector. See item 11 on page 9 for details.
A Kensington security cable lock is usually a combination of key(s) and the lock. Refer
to the locks documentation for finding out how to use it.
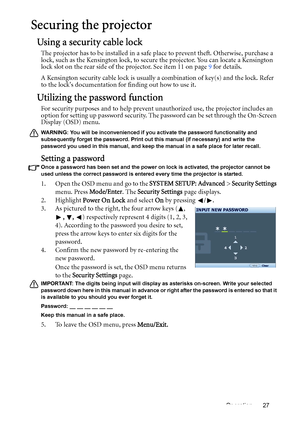
Utilizing the password function
For...
Page 28
Operation 28
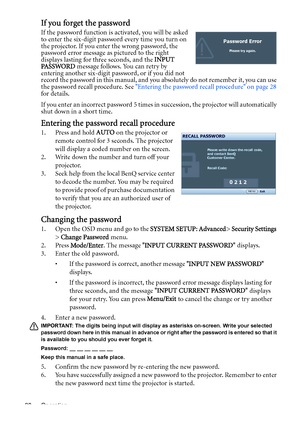
If you forget the password
If the password function is activated, you will be asked
to enter the six-digit password every time you turn on
the projector. If you enter the wrong password, the
password error message as pictured to the right
displays lasting for three seconds, and the INPUT
PA S S WO R D message follows. You can retry by
entering another six-digit password, or if you did not
record the password in this manual, and you absolutely do not remember it, you can use
the...
Page 29
Operation 29
7. To leave the OSD menu, press Menu/Exit.
Disabling the password function
To disable password protection, go back to the SYSTEM SETUP: Advanced > Security
Settings > Power On Lock menu after opening the OSD menu system. Select Off by
pressing /. The message INPUT PASSWORD displays. Enter the current
password.
i. If the password is correct, the OSD menu returns to the Security Settings page
with Off shown in the row of Power On Lock. You will not have to enter the
password next time...
Page 30
Operation
30
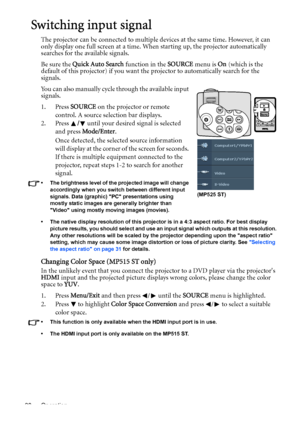
Switching input signal
The projector can be connected to multiple  devices at the same time. However, it can
only display one full screen at a time. When starting up, the projector automatically
searches for the available signals.
Be sure the  Quick Auto Search  function in the SOURCE menu is On (which is the
default of this projector) if you want the projector to automatically search for the
signals.
You can also manually cycle through the available input
signals.
1. Press  SOURCE on...
