Sony DPP FP60 User Manual
Here you can view all the pages of manual Sony DPP FP60 User Manual. The Sony manuals for Printer are available online for free. You can easily download all the documents as PDF.
Page 1
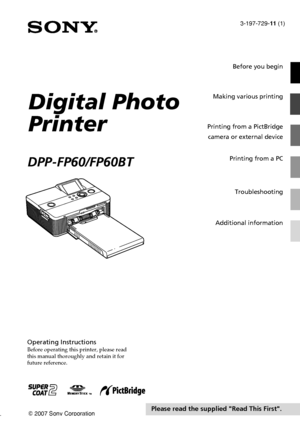
3-197-729-11 (1) 2007 Sony Corporation Operating InstructionsBefore operating this printer, please read this manual thoroughly and retain it for future reference. Digital Photo Printer DPP-FP60/FP60BT Please read the supplied Read This First. Before you begin Making various printing Printing from a PictBridge camera or external device Printing from a PC Troubleshooting Additional information Downloaded From ManualsPrinter.com Manuals
Page 2
2 GB
NOTICE FOR CUSTOMERS IN THE
UNITED KINGDOM
A moulded plug complying with BS 1363 is fitted to this
equipment for your safety and convenience.
Should the fuse in the plug supplied need to be replaced,
a fuse of the same rating as the supplied one and
approved by ASTA or BSI to BS 1362, (i.e.marked with
 or  mark) must be used.
If the plug supplied with this equipment has a detachable
fuse cover, be sure to attach the fuse cover after you
change the fuse. Never use the plug without the fuse
cover. If...
Page 3
3 GB
Notes on LCD screen
•The displayed image on the screen is not
identical in picture quality and colors with the
printed image because phosphor methods or
profiles differ. Please regard the displayed
image as just a reference.
• Do not press against the LCD screen. The
screen may be discolored and that may cause a
malfunction.
• Exposing the LCD screen to direct sunlight for
long periods may cause malfunctions.
• The LCD screen is manufactured using
extremely high-precision technology so over
99.99%...
Page 4
4 GB
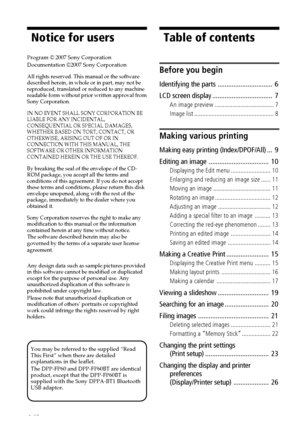
Table of contents
Before you begin
Identifying the parts ............................... 6
LCD screen display .................................. 7
An image preview ..................................... 7
Image list .................................................. 8
Making various printing
Making easy printing (Index/DPOF/All) ... 9
Editing an image .................................. 10
Displaying the Edit menu ......................... 10
Enlarging and reducing an image size ...... 11
Moving an...
Page 5
5 GB
Printing from a PictBridge
camera or external device
Printing from the PictBridgedigital camera ................................. 28
Printing from a Bluetooth-compliant device ............................................. 29
Compatible profiles for Bluetooth
communication ....................................... 29
Printing procedures ................................. 29
Printing from an external device ........... 31
Printing from a PC
Installing the software .......................... 32
System...
Page 6
6 GB
Identifying the parts
For details, see the pages indicated in the
parentheses.
Printer front panel
11 (on/standby) switch/indicator
( . Read This First)
2 MENU button
3
 (zoom out)/ (zoom in) buttons
(page 8)
4 LCD screen
5 Direction ( f/F/g/G) buttons
6 ENTER button
7 PRINT button/indicator
(. Read This First)
8 CANCEL button
9 Access indicator
 (. Read This First)
0 Paper tray compartment door
(. Read This First)
qa Paper tray compartment
(. Read This First)
qs SD CARD slot ( .Read This First)...
Page 7
7 GB
Before you begin
LCD screen display
An image preview
1Input/setting indications
Input indications and settings
information for an image are displayed.
Icons Meaning
“Memory Stick” or
“Memory Stick Duo” input
SD Card input
External Device input
Protect indication
DPOF preset indication
Associated file indication
(Displayed when there is
an associated file such as a
motion file or a miniature
e-mail image file.)
2 Number of the selected images/
Total number of image
3 Ink ribbon indication
(P: P...
Page 8
8 GB
Image list
1Cursor (orange frame)
You can move the cursor by pressing  g/
G/f/F .
2Operation tips
3 Scroll bar
Indicates the position of the image
among the total number of images.
Switching the screen display
between an image preview
and image list
You can switch an image preview and
the image list as follows:
•To display the image list
In an image preview, press
 (zoom
out).
When an image is enlarged, press
repeatedly. An image is reduced up
to the original scale and then the
image list is...
Page 9
9 GB
Making various printing
Making various printing
Notes
• For how to preset images for printing, see the
manual of your digital camera.
• Some types of digital camera do not support
the DPOF function, or the printer may not
support some of the functions of the digital
camera.
Buttons to be used in easy printing
g/G /f /F/ ENTER
CANCEL
MENU
1Press MENU on the printer.
The menu bar is displayed.
            Easy Printing icon           Menu bar
To exit the menu mode
Press MENU again.  The previous...
Page 10
10 GB
Editing an image
Displaying the Edit menu
You can display the Edit menu and edit or
add an effect to an image. You can print or
save an image being previewed.
Buttons to be used in the Edit menu
g/G /f /F/ ENTER
PRINT
CANCEL
MENU
1Display the image that you want
to edit.
Display the image in the image
preview window or move the Cursor
to the desired image in the image list.
2Press MENU on the printer.
The menu bar is displayed.
          Edit menu icon             Menu bar
To exit the menu mode...


