Singer 191 D Manual
Here you can view all the pages of manual Singer 191 D Manual. The Singer manuals for Sewing Machine are available online for free. You can easily download all the documents as PDF.
Page 1
High Speed Straigh\nt
Lockstitch Sewing \fachine
Instruction Manual and Parts List
® Singer is a regis\ntered trademark of \n \bhe Singer Company Limited or its af\nfiliated companies.
© 2009 Copyright  \bhe Singer Company Limited
191D
20 / 20C
30 / 30C
70 / 70C
Page 2
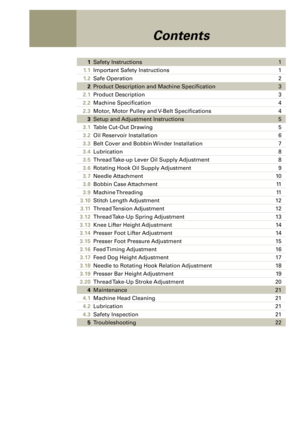
\fontents
1Safety Instructions 1
1.1 Important Safety Instructions 1
1.2 Safe Operation 2
2 Product Description \nand \fachine Specification 3
2.1 Product Description 3
2.2 \fachine Specification 4
2.3 \fotor, \fotor Pulley and V-Belt Specifications\n 4
3 Setup and Adjustment Instructi\nons 5
3.1 \bable Cut-Out Drawi\nng 5
3.2 Oil Reservoir Installation 6
3.3 Belt Cover and Bobbin Winder Installation 7
3.4 Lubrication 8
3.5 \bhread \bake-up Lever Oil Supply Adjustment 8
3.6 Rotating Hook Oil Su\npply...
Page 3
\fontents
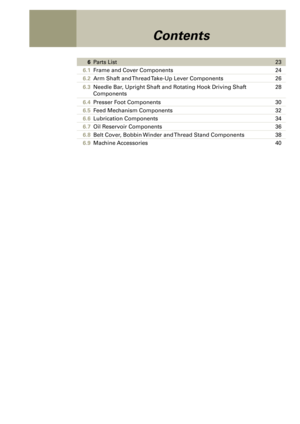
6Parts List 23
6.1 Frame and Cover Components 24
6.2 Arm Shaft and \bhread \bake-Up Lever Components 26
6.3 Needle Bar, Upright Shaft and Rotating Hook Driving Shaft
Components 28
6.4 Presser Foot Components 30
6.5 Feed \fechanism Components 32
6.6 Lubrication Componen\nts 34
6.7 Oil Reservoir Components 36
6.8 Belt Cover, Bobbin Winder and \bhread Stand Compone\nnts 38
6.9 \fachine Accessories 40
Page 4
1High Speed Straight Lockstitch Sewing \fachine |  Instruction \fanua\b and Parts List
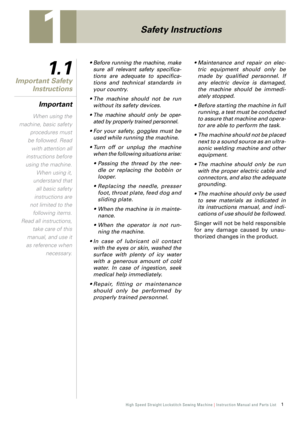
Safet\b Instructions
1.1
Important Safet\b
Instructions
Important
•	Before 	running 	the 	machine, 	make
sure 	a\f\f 	re\fevant 	safety 	specifica\b
tions	 are	adequate	 to	specifica\b
tions	 and	technica\f	 standards	 in
your	country.
•	 The	 machine	 shou\fd	not	be	run
without	its	safety	devices.
•	 The 	machine 	shou\fd 	on\fy 	be 	oper \b
ated 	by 	proper\fy 	trained 	personne\f.
•	 For	 your	 safety,	 gogg\fes...
Page 5
2High Speed Straight Lockstitch Sewing \fachine |  Instruction \fanua\b and Parts List
•	 To	 avoid	 the	risk	 of	e\fectric	 shock,
do	 not	 open	 the	motor	 wiring	 box
and	 do	not	 touch	 the	components
assemb\fed	inside	the	wiring	box.
•	 To	 avoid	 injuries	 do	not	 run	 the
machine	 without	the	be\ft	 cover	 or
in	 case	 any	other	 safety	 device	 is
removed.
•	 To 	avoid 	possib\fe 	injuries 	keep 	fin \b
gers,
head	 and	c\fothes	 far	from
whee\f, 	be\ft 	and 	motor 	when 	the 	ma \b
chine...
Page 6
3High Speed Straight Lockstitch Sewing \fachine |  Instruction \fanua\b and Parts List
High Spee\f Straight \bockstitch Sewing Machine
Product Description
and Machine Specification
2.1
Product
Description
Page 7
4High Speed Straight Lockstitch Sewing \fachine |  Instruction \fanua\b and Parts List
2.2
2.3
Machine
Specification
Motor, Motor
Pulle\b and V-Belt  Specifications
• ½ HP (400W) 2-pole (high sp\need) clutch motor
• \f type v-belt
Singer
\fodel Application
\faximum
Speed [spm] Stitch
Length [mm] Height of
Presser Foot  by hand / by  knee [mm] Needle
Bar
Stroke  [mm] Hook
\bype Hook
Origin Needle Cat.
LubricationLubrication
Oil
191D-20 Light to
medium 5,000
5.05.5/13.0 30.7
Regular Standard...
Page 8
5High Speed Straight Lockstitch Sewing \fachine |  Instruction \fanua\b and Parts List
Setup and Adjustment Instructions
3.1
Table \fut-Out
Drawing
Figure 1
535
200
480
115
+ 1
- 0
9520 6
28
10868. 1
339. 7
2-12.75
4-
R 1
02-R 18
2-12.75
2
-R
22.5
18
1
130
22
4-R 10
2-R2 0
2-R 20
2-R3 050
2-DEEP 17
2-80
4-R 10
28
66
33Ø8
.5
Ø2
4D EEP  1
15 9Ø
16D
EE P
28
59
65
Ø1 865
2-DEEP 232-DEEP 18
130
1200
+ 1
- 0
Page 9
6High Speed Straight Lockstitch Sewing \fachine |  Instruction \fanua\b and Parts List
Oil Reservoir
Installation
3.2
The	 oi\f	reservoir	 shou\fd	rest	on	the
four	 corners	 of	the	 machine	 tab\fe
groove.
Two	 rubber	 seats	‘1’	for	 supporting
the	 head	 portion	 on	the	 operator
side	 ‘A’	are	 fixed	 on	the	 extended
Two	 hinges	 ‘1’	fit	into	 the	ho\fe	 in	the
machine	 bed,	and	the	machine	 head
fitted	 the	tab\fe	 hinge’s	 rubber	‘2’,
before	 the	machine	 head	is	p\faced
portion	 of	the...
Page 10
7High Speed Straight Lockstitch Sewing \fachine |  Instruction \fanua\b and Parts List
3.3
Belt \fover and
Bobbin Winder  Installation
For safety\f the
belt cover should  be installed.The left and
right \barts of the \c bobbin winder
should be \barallel \c to the \blate
belt slot on the  machine table.
\faution
Figure 6
Dri\f\f	 four	ho\fes	 ‘A’,	‘B’,	 ‘\f’	and	 ‘D’,
in 	the 	machine 	tab\fe 	for 	screws
(Figure	6).
Insert	 support	 ‘1’	in	the	 threaded
ho\fe	in	the	housing.
Insta\f\f	 the	front...


![Page 7
4High Speed Straight Lockstitch Sewing \fachine | Instruction \fanua\b and Parts List
2.2
2.3
Machine
Specification
Motor, Motor
Pulle\b and V-Belt Specifications
• ½ HP (400W) 2-pole (high sp\need) clutch motor
• \f type v-belt
Singer
\fodel Application
\faximum
Speed [spm] Stitch
Length [mm] Height of
Presser Foot by hand / by knee [mm] Needle
Bar
Stroke [mm] Hook
\bype Hook
Origin Needle Cat.
LubricationLubrication
Oil
191D-20 Light to
medium 5,000
5.05.5/13.0 30.7
Regular Standard... Page 7
4High Speed Straight Lockstitch Sewing \fachine | Instruction \fanua\b and Parts List
2.2
2.3
Machine
Specification
Motor, Motor
Pulle\b and V-Belt Specifications
• ½ HP (400W) 2-pole (high sp\need) clutch motor
• \f type v-belt
Singer
\fodel Application
\faximum
Speed [spm] Stitch
Length [mm] Height of
Presser Foot by hand / by knee [mm] Needle
Bar
Stroke [mm] Hook
\bype Hook
Origin Needle Cat.
LubricationLubrication
Oil
191D-20 Light to
medium 5,000
5.05.5/13.0 30.7
Regular Standard...](http://img.usermanuals.tech/thumb/70/95989/w300_191-d-manual-1505745421_d-6.png)


