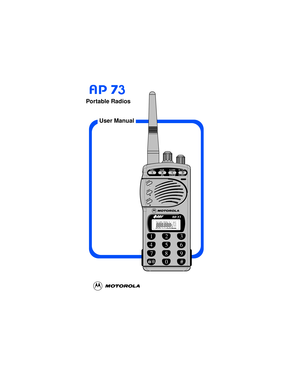
Motorola Ap73 Portable Radios User Manual
Here you can view all the pages of manual Motorola Ap73 Portable Radios User Manual. The Motorola manuals for Radio are available online for free. You can easily download all the documents as PDF.
Page 1
User Manual
Portable Radios
1
23
4
56
789
0#
SIGNALTXLOWCTCSS
BATT
SCAN
SAVE
MEMOFS
MODE
SQL LOWSCANSIG
N-DELSTEP PLAB CD
3
*
Page 2
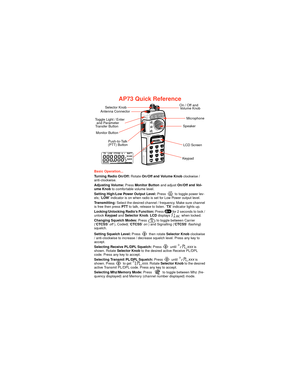
AP73 Quick Reference
Basic Operation...
Turning Radio On/Off: RotateOn/Off and Volume Knob clockwise /
anti-clockwise.
Adjusting Volume: PressMonitor Buttonand adjustOn/Off and Vol-
ume Knob to comfortable volume level.
Setting High/Low Power Output Level: Press  to toggle power lev-
els; ÔLOWÕ indicator is on when radio is set for Low Power output level.
Transmitting: Select the desired channel / frequency. Make sure channel
is free then pressPTTto talk, release to listen. ÔTXÕ indicator lights up....
Page 3
MHz Operation...
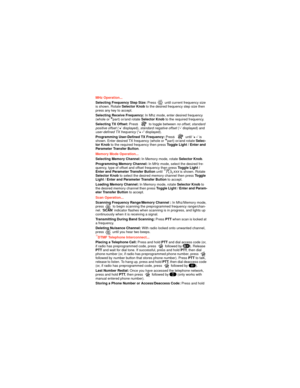
Selecting Frequency Step Size: Press  until current frequency size
is shown. RotateSelector Knob to the desired frequency step size then
press any key to accept.
Selecting Receive Frequency: In Mhz mode, enter desired frequency
(whole or
vpart) or/and rotateSelector Knob to the required frequency.
Selecting TX Offset: Press to toggle betweenno offset,standard
positive offset(Ô+Õ displayed),standard negative offset(Ô-Õ displayed) anduser-deÞned TX frequency (Ò+ -Ó displayed).
Programming...
Page 4
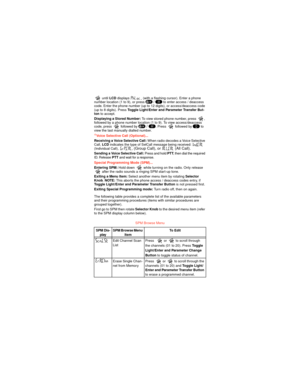
 untilLCD displays  (with a ßashing cursor). Enter a phone
number location (1 to 9), or press  /  to enter access / deaccess
code. Enter the phone number (up to 12 digits), or access/deaccess code
(up to 8 digits). PressToggle Light/Enter and Parameter Transfer But-
ton to accept.
Displaying a Stored Number:To view stored phone number, press ,
followed by a phone number location (1 to 9). To view access/deaccess
code, press  followed by
 /. Press  followed by  to
view the last manually dialled number....
Page 5
Notes...Pxxx represents a number.vPress Toggle Light / Enter and Parameter Transfer Button to commit
partially entered frequency.
CRadio must be equipped with an optional DTMF Decode Option board.¤SelCall Tone Status only displays when an option board is installed.
P
PEdit Phone Access /
Deaccess CodePress  or  to enter into edit
mode.  to erase unwanted digits.
Enter new code.
Edit PTT ID
Edit Acknowledge-
ment / Individual /
Group / All Call IDsPress  or to enter into edit
mode.  to erase unwanted...
Page 6
2-YEAR LIMITED WARRANTY
FOR RADIOS
We thank you for purchasing our Motorola radios. These
radios are manufactured according to the highest quality
standards set and are backed by MotorolaÕs two (2) year
warranty. The rechargeable Motorola supplied batteries have
a one (1) year warranty. Kindly approach your dealer for more
information.
Motorola warrants its radios and batteries against defects in
material and workmanship under normal use and service for
the period stated above.
Motorola recommends that...
Page 7
NOTEKeep this page open for easy reference as you gothrough the user guide.
1. On / Off and Volume Knob 13. Mode / Backspace Button
2.  Selector Knob 14. Left Scroll / Offset Button
3. Antenna Connector 15. Right Scroll / Memory Button
4. Toggle Light / Enter and Parameter
Transfer Button16. Accessory Connector
5. Monitor Button 17. SCI Port
6. Push-To-Talk (PTT) Button 18. LCD Screen
7. Signal Button 19. Numeric Keypad
8. Squelch / PL Button 20. Enable / Disable PTT ID Key
9. Low Power / Frequency Step...
Page 8
Copyright Information
The Motorola products described in this manual may
include copyrighted Motorola computer programs
stored in semiconductor memories or other mediums.
Laws in the United States and other countries pre-
serve for Motorola certain exclusive rights for copy-
righted computer programs, including the exclusive
right to copy or reproduce in any form the copyrighted
computer program. Accordingly, any copyrighted
Motorola computer programs contained in the Motor-
ola products described in...
Page 9
Contents
12-Year Warranty
Contents
Introduction  . . . . . . . . . . . . . . . . . . . . . . . . . . . 2
Packing Information . . . . . . . . . . . . . . . . . . . . . 3
Knobs, Buttons, Connectors and Others  . . . . . 4
Getting Started . . . . . . . . . . . . . . . . . . . . . . . . . 8
Basic Operations  . . . . . . . . . . . . . . . . . . . . . . 14
Turning the Radio On  . . . . . . . . . . . . . . . . . 14
Turning the Radio Off  . . . . . . . . . . . . . . . . . 14
Adjusting the Volume  . . . . . . . ....
Page 10
Introduction
22-Year Warranty
Introduction
Congratulations on your purchase of a Motorola two-
way radio. Your radio is a product of MotorolaÕs more
than 50 years of experience as a world leader in the
designing and manufacturing of communications
equipment. This radio offers superior quality, superior
performance, ultimate ßexibility and years of reliable
and effective communications.
This radio incorporates the latest technology available
in two-way radio communications. The use of micro-
computer...


