BenQ Cp120 Dlp Users Manual
Here you can view all the pages of manual BenQ Cp120 Dlp Users Manual. The BenQ manuals for Projector are available online for free. You can easily download all the documents as PDF.
Page 11
Important safety instructions 3
Safety instructions (continued)
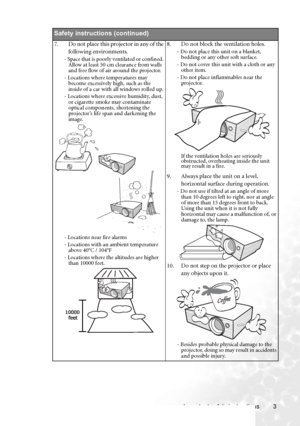
7. Do not place this projector in any of the
following environments.
- Space that is poorly ventilated or confined.
Allow at least 50 cm clearance from walls
and free flow of air around the projector.
- Locations where temperatures may
become excessively high, such as the
inside of a car with all windows rolled up.
- Locations where excessive humidity, dust,
or cigarette smoke may contaminate
optical components, shortening the...
Page 12
Important safety instructions 4
Safety instructions (continued)
11. Do not block the projection lens with
any objects when the projector is under
operation as this could cause the
objects to become heated or deformed
or even cause a fire. To temporarily
turn off the lamp, press BLANK button
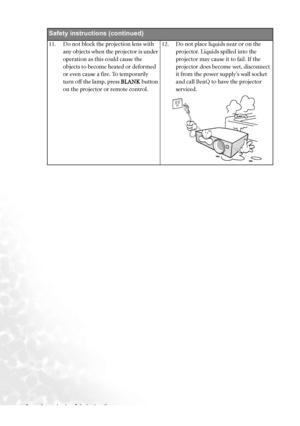
on the projector or remote control.12. Do not place liquids near or on the
projector. Liquids spilled into the
projector may cause it to fail. If the
projector does become wet, disconnect
it from the power...
Page 13
Introduction 5
Introduction
Projector features
The projector integrates high-performance optical engine projection and a user-friendly
design to deliver high reliability and ease of use. It offers the following features:
• Wireless connectivity
The projector provides wireless connectivity that allows up to 10 computers to share one
projector without the hassle of changing cables.
• Selectable wireless connection modes
The wireless connection modes (IEEE 802.11 a/b/g) are selectable, maximizing the...
Page 14
Introduction 6
Shipping contents
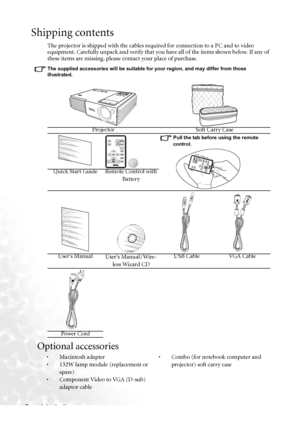
The projector is shipped with the cables required for connection to a PC and to video
equipment. Carefully unpack and verify that you have all of the items shown below. If any of
these items are missing, please contact your place of purchase.
The supplied accessories will be suitable for your region, and may differ from those
illustrated.
Optional accessories
Projector Soft Carry Case
Pull the tab before using the remote
control.
Quick Start Guide Remote Control with...
Page 15
Introduction 7
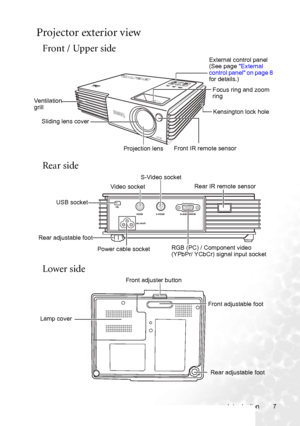
Projector exterior view
Front / Upper side
Rear side
Lower side
CP120
External control panel
(See page External
control panel on page 8
for details.)
Front IR remote sensor Ventilation
grill
Projection lensFocus ring and zoom
ring
Kensington lock hole
Sliding lens cover
Rear IR remote sensor
RGB (PC) / Component video
(YPbPr/ YCbCr) signal input socket USB socketVideo socket
S-Video socket
Power cable socket
Rear adjustable foot
Lamp cover
Rear adjustable foot Front adjustable foot...
Page 16
Introduction 8
Controls and functions
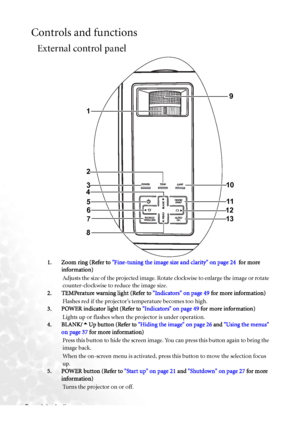
External control panel
1. Zoom ring (Refer to Fine-tuning the image size and clarity on page 24  for more
information)
Adjusts the size of the projected image. Rotate clockwise to enlarge the image or rotate
counter-clockwise to reduce the image size.
2. TEMPerature warning light (Refer to Indicators on page 49 for more information)
Flashes red if the projector’s temperature becomes too high.
3. POWER indicator light (Refer to Indicators on page 49 for more...
Page 17
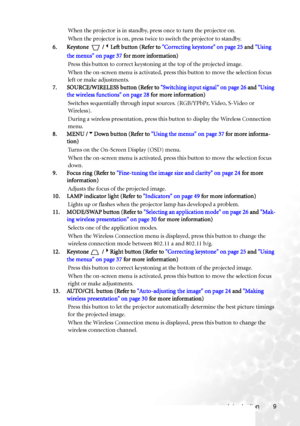
Introduction 9 When the projector is in standby, press once to turn the projector on.
When the projector is on, press twice to switch the projector to standby.
6. Keystone  /3Left button (Refer to Correcting keystone on page 25 and Using
the menus on page 37
 for more information)
Press this button to correct keystoning at the top of the projected image.
When the on-screen menu is activated, press this button to move the selection focus
left or make adjustments.
7. SOURCE/WIRELESS button (Refer to...
Page 18
Introduction 10
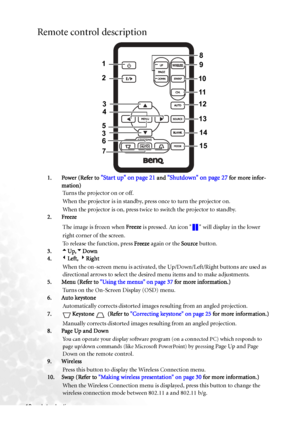
Remote control description
1. Power (Refer to Start up on page 21 and Shutdown on page 27 for more infor-
mation)
Turns the projector on or off.
When the projector is in standby, press once to turn the projector on.
When the projector is on, press twice to switch the projector to standby.
2. Freeze
The image is frozen when Freeze is pressed. An icon   will display in the lower
right corner of the screen.
To release the function, press Freeze again or the Source button.
3.5Up,6Down...
Page 19
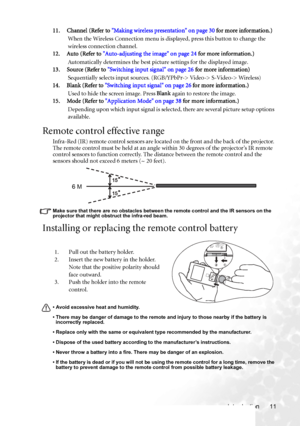
Introduction 11 11. Channel (Refer to Making wireless presentation on page 30 for more information.)
When the Wireless Connection menu is displayed, press this button to change the
wireless connection channel.
12. Auto (Refer to Auto-adjusting the image on page 24 for more information.)
Automatically determines the best picture settings for the displayed image.
13. Source (Refer to Switching input signal on page 26 for more information)
Sequentially selects input sources. (RGB/YPbPr-> Video-> S-Video->...
Page 20
Positioning your projector 12
Positioning your projector
Choosing a location
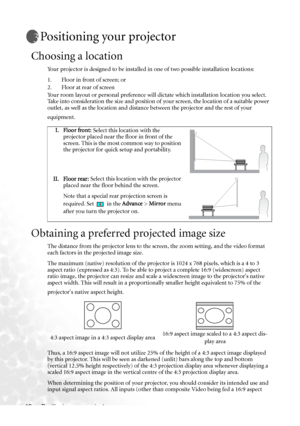
Your projector is designed to be installed in one of two possible installation locations:
1. Floor in front of screen; or
2. Floor at rear of screen
Your room layout or personal preference will dictate which installation location you select.
Take into consideration the size and position of your screen, the location of a suitable power
outlet, as well as the location and distance between the projector and the rest of your...
